Previous Article – Exchange Server 2010 Step By Step – Part I
Exchange 2010 Installation Steps:
- When you double click on setup it will launch the below splash screen. If any pre-requisites still need to be installed, it will be dark black otherwise it will show them gray which means it is installed.
- Then, depending on your language requirement select either of the options in “Step 3: Choose Exchange language option“, select “Install only languages from the DVD” if you want to go with English.
- Select “Step 4: Install Microsoft Exchange” to begin installation.

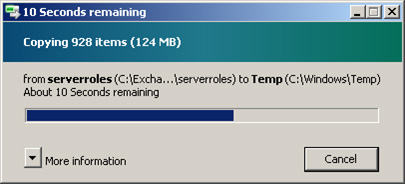
- When you click on Step 4, it will start copying the necessary files and the initialization of setup.
- Click Next on the Introduction screen.

- License Agreement screen appears; you will see this message “You may not test software in a live operating environment unless Microsoft permits you to do so under another agreement“. Yes, Release Candidate is not supported to install in production environment unless you are member of Technology Adoption Program (TAP) and agree to conditions.
- Accept the agreement and click Next.

- Error Reporting screen appears, select Yes or No

- Select Installation Type which you want to choose and specify the path of Exchange Server program files and click Next.

- Select the Server Roles you want to install in Server Role Selection screen and click Next.

- Type Exchange Organization name in the text box which you want to keep and click Next.

- Select Yes, if you still have Outlook 2003 or Entourage in your organization in Client Settings screen and click Next.

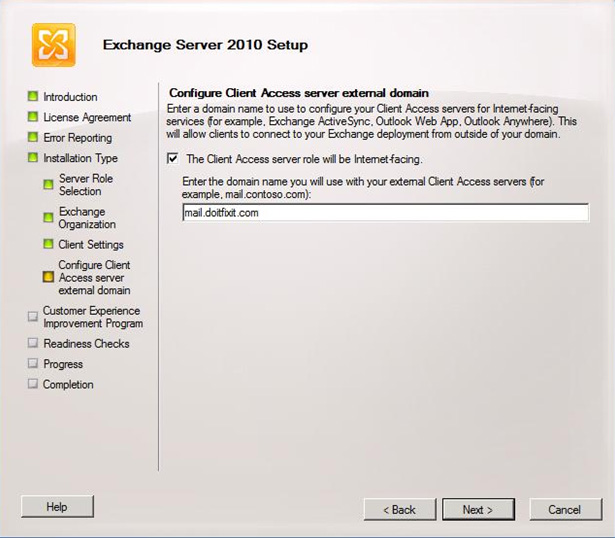
- In the Configure Client Access Server external domain page, enter the domain name to configure your External Client Access servers. This will configure InternalURL and ExternalURL for various services of Client Access Server for you by default, isn’t this a great thing!
- In Customer Experience Improvement Program, choose the type of your organization if you want to join the program and select Next.

- In the Readiness Checks page, setup will verify the prerequisites for selected components and if they have completed successfully, click Install to install Exchange 2010. Otherwise you will receive an error and then you need to follow the steps as mentioned.

- In the Completion page you can see the progress of the installation, once all are completed, click Finish.

- In the initial setup pop-up screen, after you click Close, you will be prompted to install latest critical updates for Exchange Server before exiting.

- You will be presented with Exchange Management Console after completion of setup. You will get a warning that the running server in your organization running Exchange Server 2010 is currently unlicensed.

- Enjoy Microsoft Exchange Server 2010.
Leave a Reply